Coordinate plane dilation exercises for high school are more than just plotting points on a graph. They teach students how to resize geometric figures mathematically while preserving their exact shape. This concept shows up everywhere outside the classroom, from scaling architectural blueprints to programming 3D video game graphics. When students master these exercises, they build the spatial reasoning and algebraic skills needed for advanced geometry, trigonometry, and pre-calculus.
What exactly is a dilation on the coordinate plane?
A dilation is a geometric transformation that changes the size of a figure without altering its shape. To perform one, you need a starting shape called the pre-image, a fixed point called the center of dilation, and a number called the scale factor. The result is a new shape called the image.
The scale factor, usually represented by k, dictates how much the shape will grow or shrink. If k is greater than 1, the shape gets larger, which is an enlargement. If k is between 0 and 1, the shape gets smaller, which is a reduction. For younger students or those needing visual foundations before algebra, practicing with a worksheet built on dot grids helps bridge the gap between simply counting boxes and applying mathematical rules.
How do you calculate new vertices using mapping rules?
When the center of dilation is the origin (0, 0), the process is straightforward. You use a mapping rule to multiply both the x and y coordinates of every vertex in the pre-image by the scale factor. The rule looks like this: (x, y) → (kx, ky).
Imagine a triangle with vertices at A(2, 2), B(4, 2), and C(2, 4). If you apply a dilation with a scale factor of 3, you multiply each coordinate by 3. The new image vertices become A'(6, 6), B'(12, 6), and C'(6, 12). The new triangle is three times larger than the original, but the angles remain exactly the same.
What happens when the center of dilation is not the origin?
This scenario frequently trips up high schoolers. If the center of dilation is a specific point like (3, 1) instead of (0, 0), you cannot just multiply the coordinates by the scale factor. You have to account for the distance from that specific center point.
To solve this, you can use a three-step formula: (x, y) → (k(x - a) + a, k(y - b) + b), where (a, b) is the center of dilation. First, you subtract the center coordinates to shift the shape to the origin. Next, you multiply by the scale factor. Finally, you add the center coordinates back to shift the shape to its final position. Teachers often introduce this complexity slowly, starting with a basic grid scaling activity for geometry before moving on to the full algebraic formulas.
Where do students usually make mistakes with scale factors?
The most common error is adding the scale factor to the coordinates instead of multiplying. For example, applying a scale factor of 2 to the point (3, 4) results in (6, 8), not (5, 6).
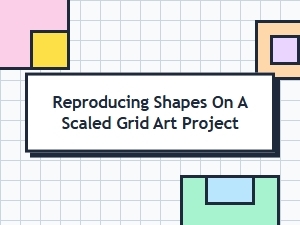
Another major source of confusion involves negative scale factors. A scale factor of -2 does not just enlarge the shape. It enlarges it and rotates it 180 degrees across the center of dilation. Some classes use creative methods like reproducing art on a scaled grid to help students visualize how every single line segment must change proportionally, preventing uneven distortions and reinforcing the idea that the whole shape is tied to that single multiplier.
How can you check your graphing work?
After you plot the new image, you should always verify your math. Draw straight lines connecting the center of dilation to each pair of corresponding vertices, such as a line passing through both A and A'. If your math is correct, these lines will form perfectly straight rays.
You can also use the distance formula to measure the side lengths. The length of any side on the new image should be exactly k times the length of the corresponding side on the pre-image. For a quick visual refresher on how these geometric rules work together, Math is Fun offers a clear breakdown of dilation rules that can help clarify tricky concepts.
Next Steps for Your Next Practice Session
Before starting your next set of problems, keep this practical checklist in mind to avoid careless errors:
- Identify the center of dilation before writing any numbers down.
- Write out the specific mapping rule, like (x, y) → (2x, 2y), at the top of your page.
- Calculate all new vertices algebraically before you attempt to graph them.
- Plot the pre-image in one color and the new image in a different color to keep them visually distinct.
- Draw connecting lines from the center point to your new vertices to verify that everything aligns properly.
 Mastering Shape Reproduction with Scaled Grids
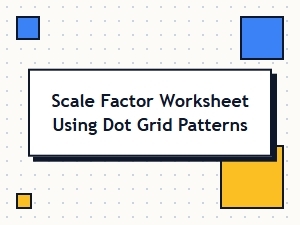 Dot Grid Scaling Patterns Worksheet
 Mastering Scale Factor Puzzle Grids
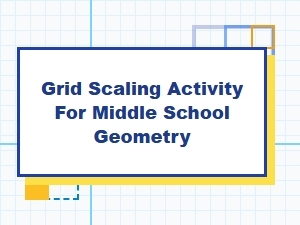 Exploring Geometry Through Grid-Based Scaling
 Practice Problems for Scaling Irregular Shapes
 Practice Sheets for Finding Scale Factor From Graphs